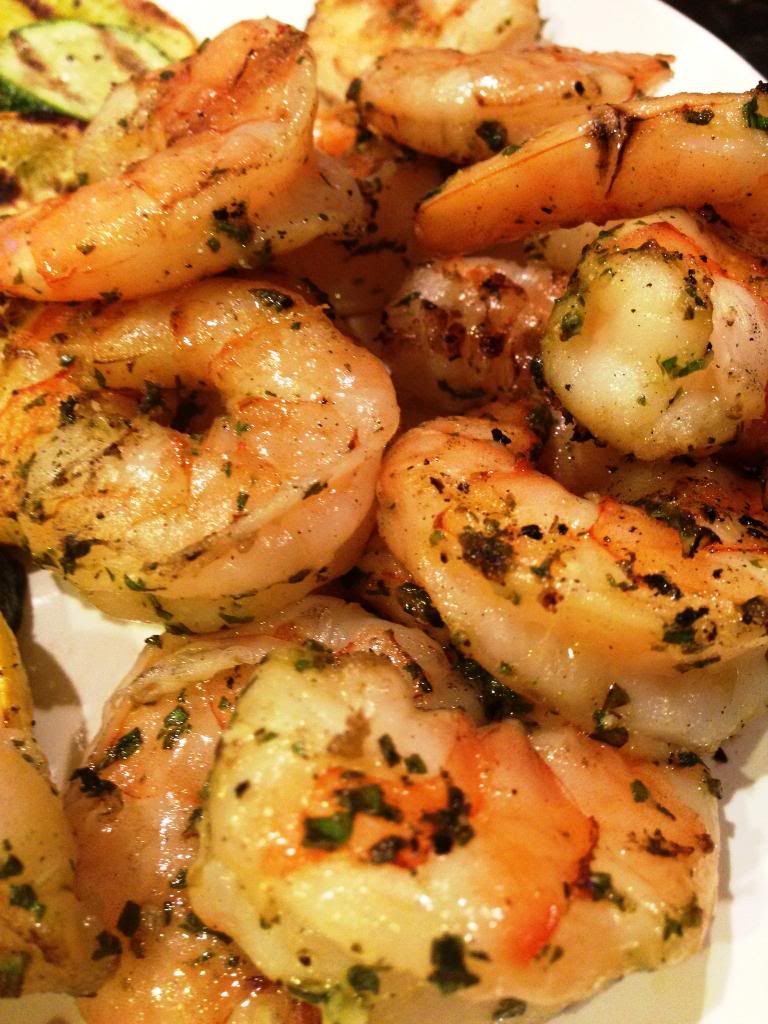
We pretty much always have a bag of frozen shrimp in our freezer and therefore are always trying new shrimp dishes. Normally fresh basil and the grill are reserved for the summer, but not in Florida! It was a great way to kick off our year with a healthy, fresh and quick dinner and allows us to use some of the ever growing basil in our yard. Try this at your next BBQ and it is guaranteed to be a hit. Normally, basil can be heavy on the garlic, but not this one, the shrimp have a fresh flavor from the basil. You can also serve it as a healthy appetizer for the Superbowl!
Grilled Pesto Shrimp
Serves 6
Source: Skinnytaste
Ingredients:
1 cup fresh basil leaves, chopped
1 clove garlic
1/4 cup grated Parmigiano Reggiano
3 Tbsp olive oil
1 1/2 lbs jumbo shrimp, peeled and deveined
kosher salt
fresh ground pepper
wooden skewers, soaked in water
Directions:
In a food processor pulse basil, garlic, parmesan cheese, salt and pepper until smooth. Slowly add the olive oil while pulsing.
Combine raw shrimp with pesto and marinate a few hours in a bowl, covered in the fridge. Soak wooden skewers in water at least 20 minutes (or use metal ones to avoid this step. Thread shrimp onto skewers.
Heat grill or grill pan over medium-low heat until hot. Be sure grates are clean and spray lightly with oil. Place shrimp on the hot grill and cook until shrimp turns pink on the bottom, about 3-4 minutes; turn and continue cooking until shrimp are opaque and cooked through, about 3-4 minutes.
Wednesday, January 30, 2013
Saturday, January 19, 2013
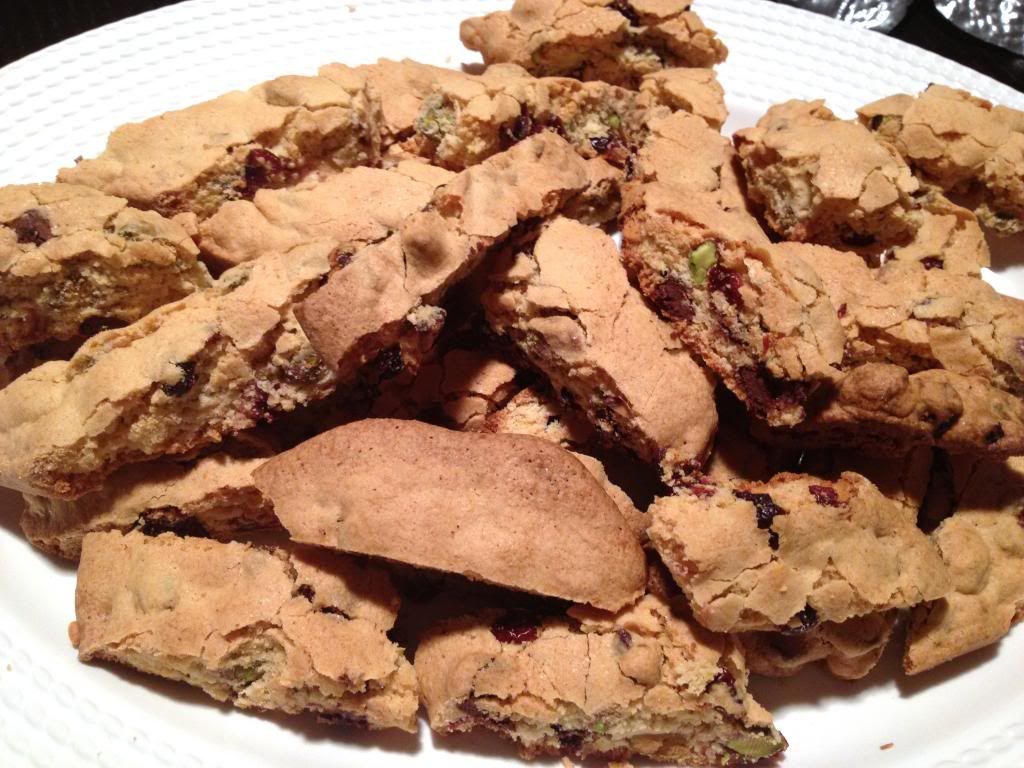
Cranberry Pistachio Biscotti
I am finally posting one of the recipes from the cookie exchange my friends had. I can assure you it did not take as long to eat them as it did to post this recipe! These crunchy biscotti have some sweetness from the cranberries and delicious pistachios. Feel free to use your favorite nut if you don't like pistachios. My friend who baked these added chocolate chips to some of them, she must have read my mind. You can eat these on their own or dunk them into some coffee or hot cocoa.
Yields 3 dozen
Ingredients:
¼ cup light olive oil
¾ cup white sugar
2 tsp vanilla extract
½ tsp almond extract
2 eggs
1 ¾ cups all-purpose flour
¼ tsp salt
1 tsp baking powder
½ cup dried cranberries
1 ½ cups pistachios
Directions:
1. Preheat oven to 300 F.
2. In a large bowl mix together oil and sugar until well blended. Mix in the vanilla and almond extracts, then beat in the eggs. Combine flour, salt and baking powder; gradually stir into egg mixture. Mix in cranberries and nuts by hand.
3. Divide dough in half. Form two logs (12x2 inches) on a cookie sheet that has been lined with parchment paper. Dough may be sticky; wet hands with cool water to handle dough more easily.
4. Bake for 35 minutes or until the logs are light brown. Remove from oven, set aside to cool for 10 minutes. Reduce oven to 275 F.
5. Cut logs on diagonal into ¾ inch thick slices. Lay on sides on parchment lines baking sheet. Bake approximately 8-10 minutes or until dry. Cool and enjoy!

Labels:
cookies
Tuesday, January 15, 2013
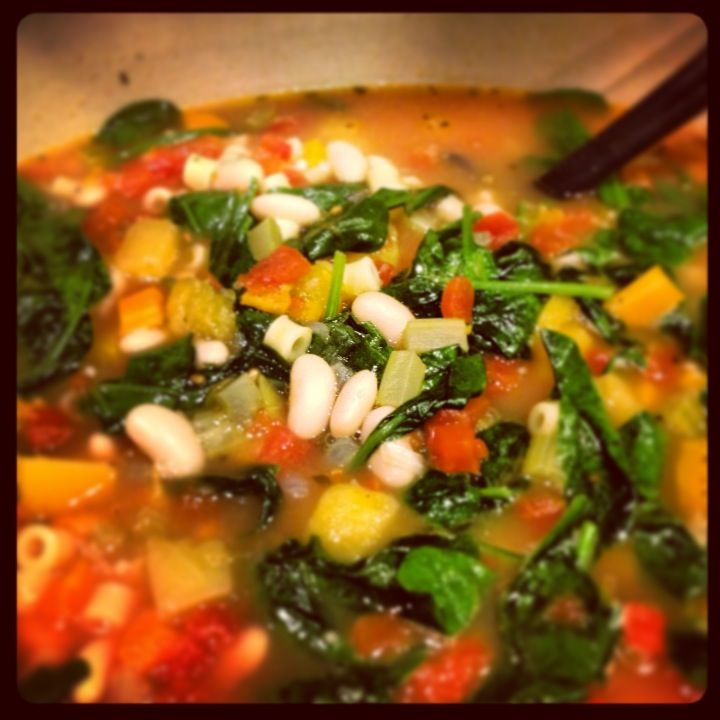
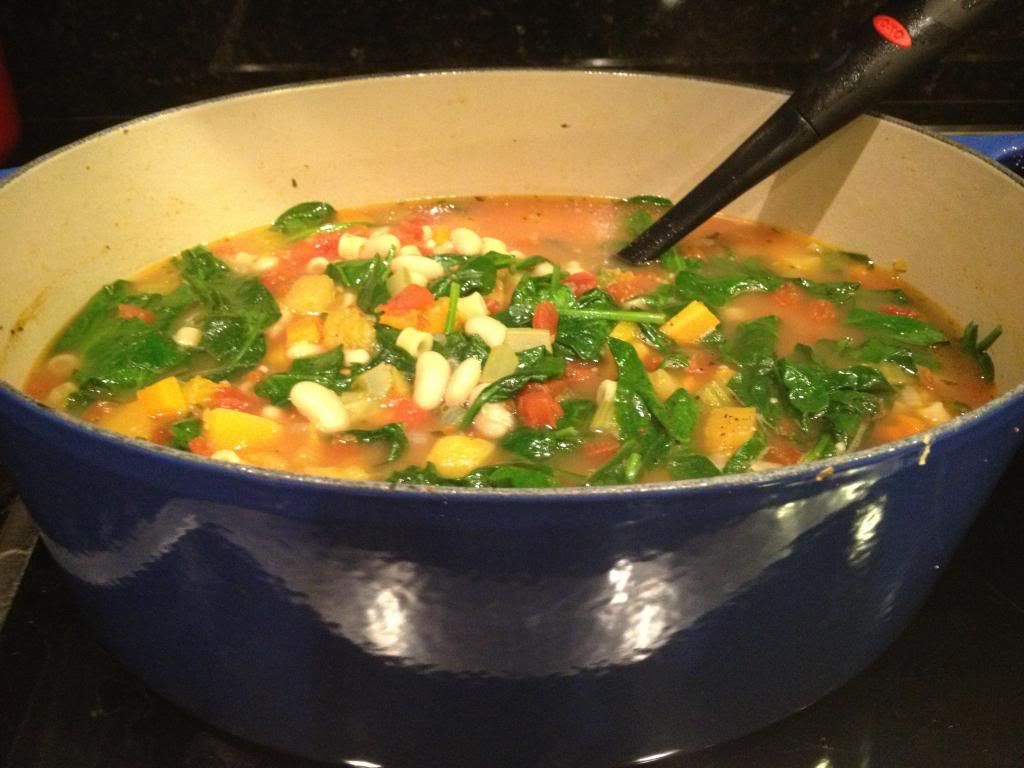
Winter Minestrone Soup
Whenever the weather is cold and dreary it seems to make me want a warm bowl of soup. Living in Florida, this doesn't happen often, but even if it is just gray outside making soup reminds me of being back home up north. This is a relatively easy recipe and makes a TON! I loved the tiny pasta, beans and spinach making it a filling meal. The original recipe called for pancetta, which I didn't use, and can be made entirely vegetarian by using vegetable stock instead of chicken stock. We ate it for a few meals and still had enough to put small portions in the freezer for last minute meals.
Winter Minestrone Soup
Serves 6-8
Source: Ina Garten's Foolproof Recipes You Can Trust
Ingredients:
Olive Oil
4 oz pancetta, 1/2 inchdiced (I didn't use)
1½
cups chopped yellow onions
2
cups (½-inch) diced carrots (3 carrots)
2
cups (½-inch) diced celery (3 stalks)
2½
cups (½-inch) diced peeled butternut squash
1½
Tablespoons minced garlic (4 cloves)
2
teaspoons chopped fresh thyme leaves
26
ounces canned or boxed chopped tomatoes
6
to 8 cups chicken stock
1
bay leaf
Kosher
salt and freshly ground black pepper
1
(15-ounce) can cannellini beans, drained and rinsed
2
cups cooked small pasta, such as tubetti (see note)
8
to 10 ounces fresh baby spinach leaves
½
cup good dry white wine
Directions:
Heat
2 Tablespoons of olive oil over medium heat in a large, heavy pot or Dutch
oven. Add the pancetta and cook over medium-low heat for 6 to 8 minutes,
stirring occasionally, until lightly browned. Add the onions, carrots, celery,
squash, garlic, and thyme and cook over medium heat, stirring occasionally, for
8 to 10 minutes, until the vegetables begin to soften.
Add
the tomatoes, 6 cups of the chicken stock, the bay leaf, 1 tablespoon salt, and
1 ½ teaspoons pepper to the pot. Bring to a boil, then lower the heat and
simmer uncovered for 30 minutes, until the vegetables are tender.
Discard
the bay leaf. Add the beans and cooked pasta and heat through. The soup should
be quite thick but if it’s too thick, add more chicken stock. Just before
serving, reheat the soup, add the spinach, and toss with 2 big spoons (like tossing
a salad). Cook just until the leaves are wilted. Depending on the saltiness of
the chicken stock, add another teaspoon or two of salt to taste.
Serve
large shallow bowls of soup with a bruschetta on top. Sprinkle with Parmesan
cheese, drizzle with olive oil, and serve hot.
NOTE:
To cook the pasta, put 1 cup of pasta into a large pot of boiling salted water.
Cook according to the directions on the package, drain, and set aside. You can
make this soup ahead and reheat it before serving. It will need to be re-seasoned.

Friday, January 11, 2013
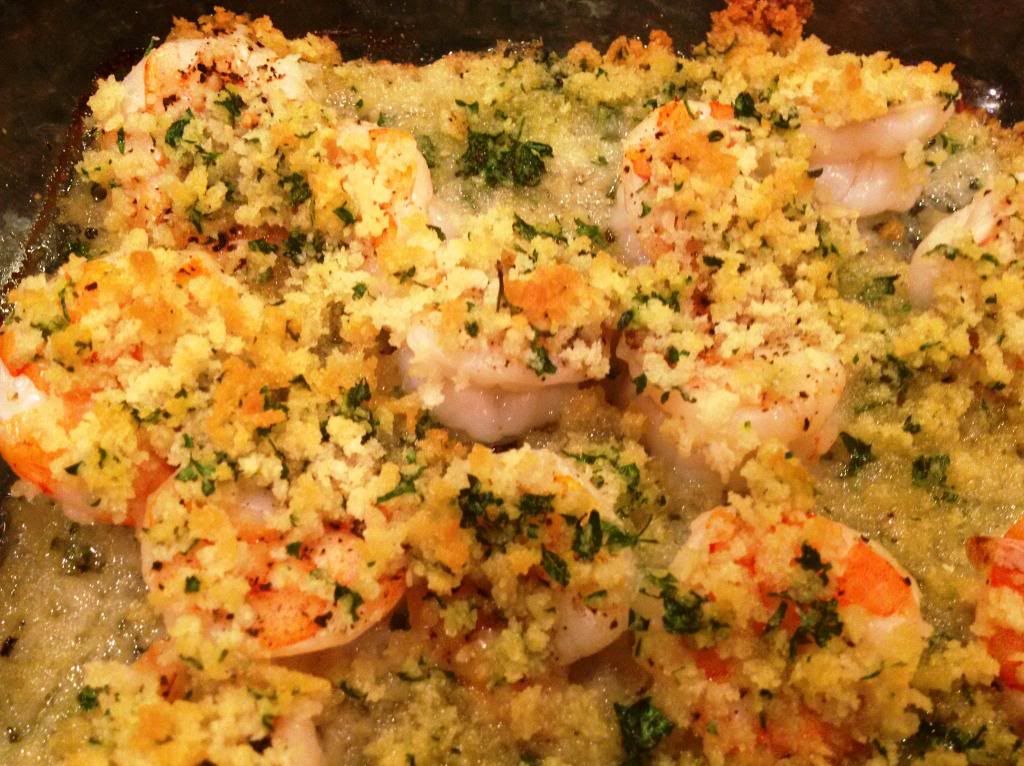
Garlicky Baked Shrimp
Happy Friday! You made it through the week and now can celebrate with a super easy and fast meal! As you may know by now, we usually have a bag of shrimp in the freezer for quick meals. It is a lean protein, low in calories and cooks extremely quickly. Not to mention we actually had all of the other ingredients in the house already, so this can be a great go-to dish. This recipe is full of flavor and I love the crunch from the crispy panko bread crumbs. Panko is an Asian style bread crumb that is a bit lighter and healthier, but if you don't have them you can always use regular bread crumbs. To make this a complete meal you can put it over some rice or pasta with veggies.
Garlicky Baked Shrimp
Serves 4
Source: Real Simple
Ingredients:
1lb raw shrimp, deveined and peeled
4 cloves garlic, minced
2 Tbsp. white wine
salt and pepper
4 Tbsp. melted butter
1/2 cup Panko bread crumbs
2 Tbsp fresh Italian-leaf parsley, chopped
half of a lemon (optional)
Method:
Preheat oven to 425 degrees F. In a bowl, combine the shrimp, garlic and white wine. Stir to combine, then pour into a baking dish. Spread out evenly, then season with salt and pepper.
In another bowl, use a fork to mix melted butter, Panko and parsley until well combined. With your fingers, sprinkle mixture evenly in the baking dish over the shrimp.
Transfer dish to the oven and bake until the shrimp are pink and opaque, about 15-18 minutes.
Nutritional Information:Per Serving
- Calories 242Calories From Fat 119
- Fat 13g
- Sat Fat 8g
- Cholesterol 202mg
- Sodium 495mg
- Protein 24g
- Carbohydrate 5g
- Sugar 0g
- Fiber 0g
- Iron 3mg
- Calcium 71mg

Wednesday, January 9, 2013
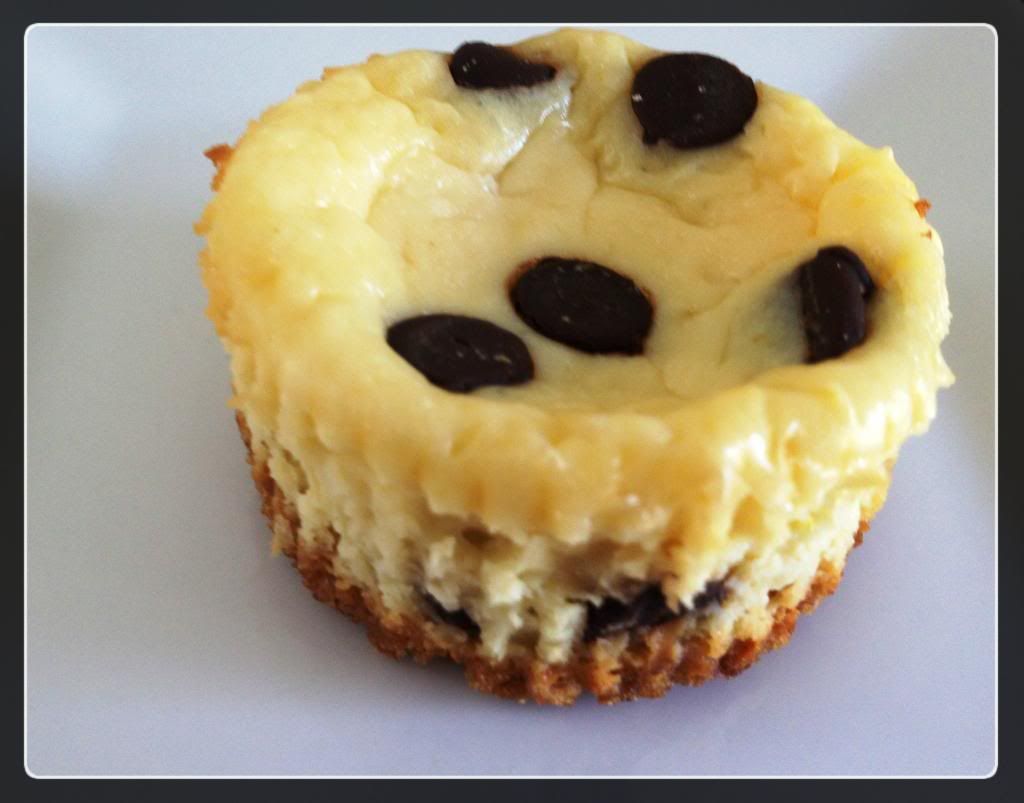
Chocolate Chip Mini Cheesecakes
These Chocolate Chip Mini Cheesecakes are a simple cheesecake batter baked in a standard muffin pan. They don't require a spring-form pan or water-bath or anything fancy/complicated. The muffin tins help make portions easy and muffin liners mean less cleaning! The cheesecake batter is a thick, creamy mixture and it bakes up to have a rich, creamy texture filled with chocolate chips. While this recipe makes only 8 mini cheesecake, it was perfect for our small get together and we weren't tempted with a ton left overs. Cheesecake can be a really heavy dessert, but by making them as minis you were satisfied but not weighed down. It can be doubled if you need more for a larger party or get together. Seal the leftovers and they will keep well in the refrigerator for a couple of days. We preferred them after they chilled in the refrigerator.
Chocolate Chip Mini Cheesecakes
Yields: 8-9
Source: Baking Bites
Ingredients:
In a medium bowl, make the graham cracker crust. Mix together graham cracker crumbs, brown sugar and salt and stir to combine. Pour over melted butter and stir with a fork to moisten the crumbs.
Place about a Tablespoon of crumb mixture in each of the prepared muffin cups and pack down into an even layer.
In a large bowl, make the cheesecake. Cream together cream cheese, sour cream and sugar until smooth. Beat in the egg and vanilla extract.
Place 1 tbsp chocolate chips into each of the muffin cups. Evenly divide cheesecake batter between the muffin cups, covering the first layer of chocolate chips. Place another Tbsp of chocolate chips on top of the cheesecake batter in each of the muffin cups.
Bake for 20-25 minutes, until cheesecakes are set.
Allow to cool for 10 minutes in the muffin pan, then carefully transfer cheesecakes to a cooling rack to cool completely before refrigerating.
Chocolate Chip Mini Cheesecakes
Yields: 8-9
Source: Baking Bites
Ingredients:
Crust
1 cup graham cracker crumbs
2 Tbsp brown sugar
small pinch salt
2 ½ Tbsp butter, melted
1 cup graham cracker crumbs
2 Tbsp brown sugar
small pinch salt
2 ½ Tbsp butter, melted
Cheesecake
8-oz cream cheese, softened
2 Tbsp sour cream or greek-style yogurt
1/3 cup sugar
1 large egg
1 tsp vanilla extract
1 cup chocolate chips
8-oz cream cheese, softened
2 Tbsp sour cream or greek-style yogurt
1/3 cup sugar
1 large egg
1 tsp vanilla extract
1 cup chocolate chips
Directions:
Preheat oven to 350F. Line 8 cups of a muffin pan with
paper liners.
In a medium bowl, make the graham cracker crust. Mix together graham cracker crumbs, brown sugar and salt and stir to combine. Pour over melted butter and stir with a fork to moisten the crumbs.
Place about a Tablespoon of crumb mixture in each of the prepared muffin cups and pack down into an even layer.
In a large bowl, make the cheesecake. Cream together cream cheese, sour cream and sugar until smooth. Beat in the egg and vanilla extract.
Place 1 tbsp chocolate chips into each of the muffin cups. Evenly divide cheesecake batter between the muffin cups, covering the first layer of chocolate chips. Place another Tbsp of chocolate chips on top of the cheesecake batter in each of the muffin cups.
Bake for 20-25 minutes, until cheesecakes are set.
Allow to cool for 10 minutes in the muffin pan, then carefully transfer cheesecakes to a cooling rack to cool completely before refrigerating.

Labels:
dessert
Saturday, January 5, 2013
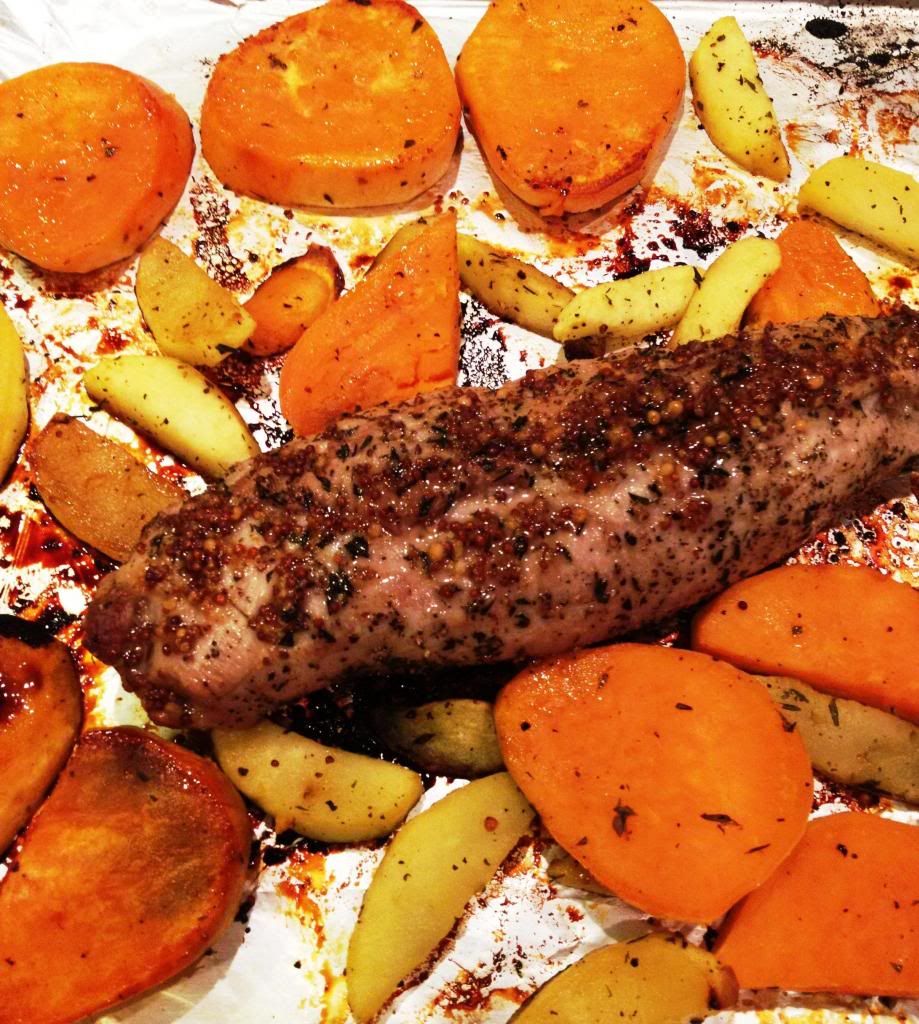
Sweet and Savory Maple Pork Roast
Perfect weeknight or weekend pork roast, with only 40 minutes from preparation to eating! As you can tell, we eat a lot of pork in our house because it can be easy to prepare and is a lean/healthy meat. Like many busy people or others that hate to clean, I love it when I can prepare a meal that includes my vegetables/starch in the same dish or pan like this one. It also helps with timing, I rarely can time my protein and sides to all be done at the time and this does it all at once! Usually, pork is paired with apples in some form and I am a big fan of warm apples. The sweetness of the apples paired with the acid from the vinegar and mustard sauce are a perfect balance. Hope you enjoy this as much as we did!
Maple Pork Roast
Serves: 4
Source: Self Magazine
Ingredients:
1.5 lb pork tenderloin
3 tsp canola oil, divided
2 Tbsp chopped fresh thyme, divided
3/4 tsp salt, divided
1/2 tsp freshly ground back pepper, divided
2 Tbsp maple syrup
1 Tbsp cider vinegar
2 tsp whole-grain mustard
2 sweet potatoes (~1lb), peeled and cut into 1/2 inch thick slices
1 large Fuji or similar apples, peeled, cored and cut into 1 inch wedges
Directions:
Position oven racks on upper and lower shelves; preheat oven to 450F.
Coat pork with 1 tsp oil; sprinkle with 1 Tbsp thy, 1/4 tsp salt and 1/4 tsp black pepper. Coat a rimmed sheet pan with cooking spray. Place pork in the center of the pan; roast on upper rack until browned, about 10 minutes.
In a small bowl, combine maple syrup, vinegar and mustard. In a larger bowl, toss potatoes a apples with remaining 1 Tbsp thyme, 2 tsp oil, 1/2 tsp salt and 1/4 tsp black pepper.
After the 10 minutes, spread potato and apple mixture in a single layer around the pork on the pan. Coat the pork with half of the syrup mixture; place pan on lower oven rack; roast until pork's internal temperature is 145 degrees, 10-15 minutes. Transfer pork to a plate and cover loosely with foil; let rest 1 minutes. Turn sweet potatoes and apples and return to oven until tender 8-10 minutes.
Spoon remaining syrup mixture over pork; slice and serve with sweet potatoes and apples!

Tuesday, January 1, 2013
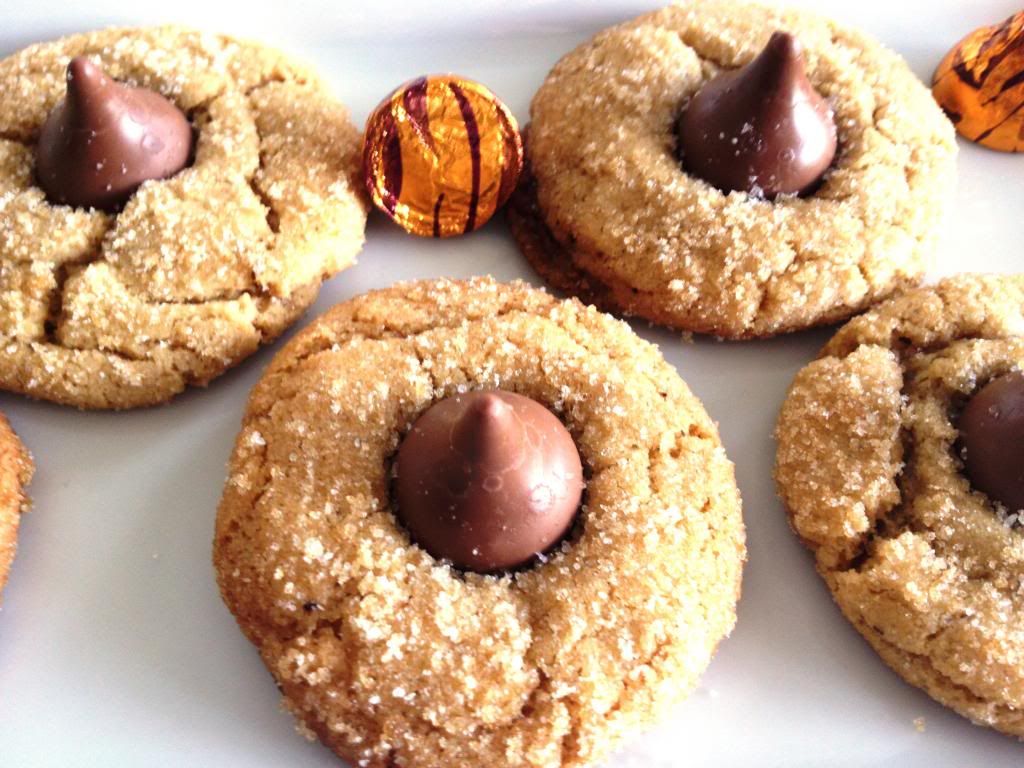
Salted Caramel Kiss Cookies
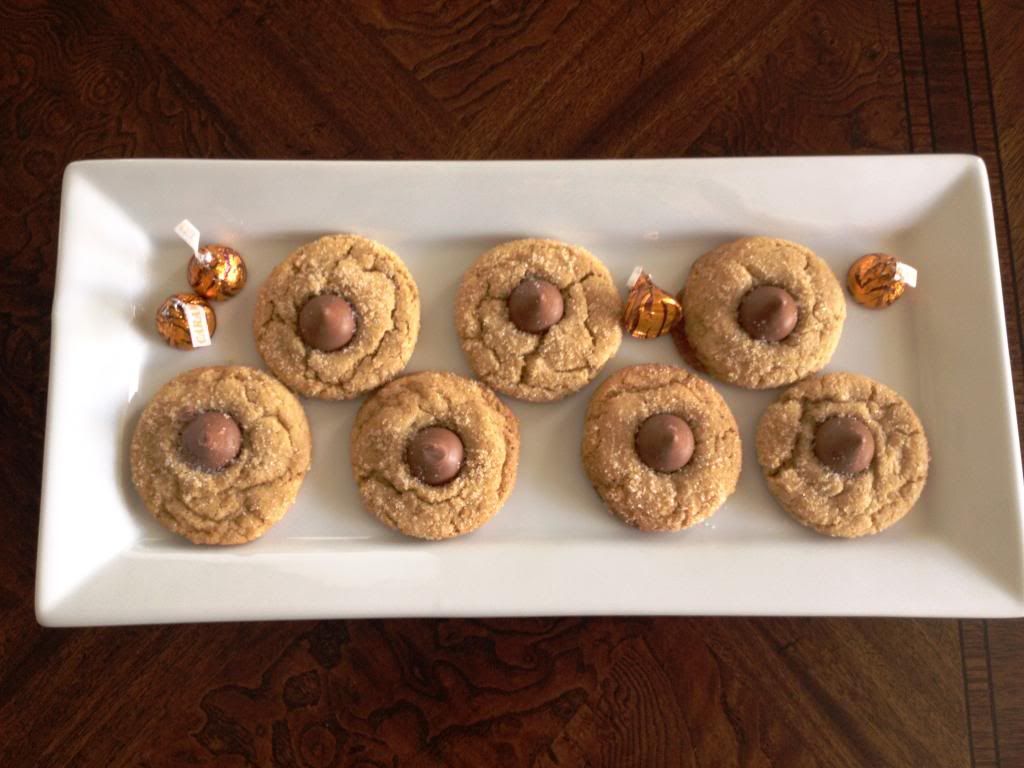
Happy New Year!!! How is another year over already?! We had some friends over for new years eve and this was one of the many desserts we had. I had seen this recipe and was waiting for an excuse to try them. Everyone loves the traditional peanut butter blossoms with Hershey kiss and this takes it to another level! It is a brown butter cookie rolled in brown and white sugar and topped with a caramel kiss, what's not to love?! The brown butter compliments the caramel and the flakes of salt cut the sweetness. Enjoy!
Salted Caramel Kiss Cookies
Yields: 24
Source: Cookies and Cups
Ingredients:
14 Tbsp salted butter
1 ¾ cups light brown sugar
2 cups, plus 2 Tbsp flour
½ tsp baking soda
¼ tsp baking powder
1 tsp kosher salt
1 egg + 1 egg yolk
1 ½ Tbsp vanilla
¼ cup granulated sugar
¼ light brown sugar
approx 24 chocolate caramel
candies, such as Caramel Kisses, unwrapped
flaked sea salt for
sprinkling
Directions:
Preheat oven to 350° and
line baking sheet with parchment paper.
Heat butter in medium
skillet over medium heat until melted. When butter melts slowly swirl the pan
and continue to cook the butter until it becomes a nice, brown-caramel color.
The swirling helps it from burning. Let cool for 15 minutes.
Whisk flour, baking soda,
baking powder and salt in a separate bowl and set aside.
When butter is cooled mix 1
3/4 cup light brown sugar and browned butter with electric mixer until no lumps
remain, about 30 seconds.
Add egg, yolk and vanilla
and mix for another 30 seconds, until smooth.
Slowly add in your flour
mixture and mix on medium-low until incorporated.
Combine remaining 1/4 cup
brown sugar and 1/4 cup granulated sugar in a small bowl.
Roll cookie dough into 2
inch balls (a heaping tablespoon) and then roll in sugar mixture.
Place on lined baking sheet
about 2 inches apart. Bake approximately 10-12 minutes or until edges begin to
brown. Do not over-bake.
As soon as the cookies come
out of the oven press a caramel chocolate candy into the center of each. Sprinkle
each with a pinch of flaked sea salt and transfer to wire rack to continue
cooling.
Notes: To prevent spreading
of these cookies while baking you can chill dough for an hour prior to baking.
I didn't chill my dough and got the results photographed, but results seem to
be varied based on feedback. store cookies in an airtight container for up to 5
days.

Labels:
cookies
Subscribe to:
Comments (Atom)
